
A quick explanation of HDR photography
Take these two pictures:
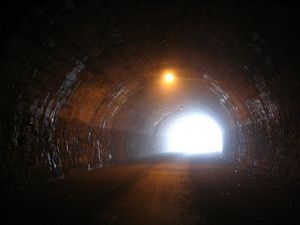
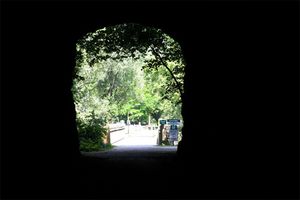
The one on the left clearly shows the inside of the tunnel, but the exit is extremely overexposed. The one on the right has the exact opposite problem: the tunnel is way too dark, but the outside of the tunnel is shown perfectly. (This might not be the same tunnel in both pictures, but for the sake of this explanation, let's say it is.)
Should we have been inside that tunnel our eyes would have adjusted and we would have seen both the detail inside and outside of the tunnel.
A camera, however, can not do this. Or it can see dark stuff or it can see light stuff, but not both.
That's where HDR comes in. You take 2 pictures: 1 light (the inside of the tunnel) and 1 dark (the outside of the tunnel) and you combine these 2 images.
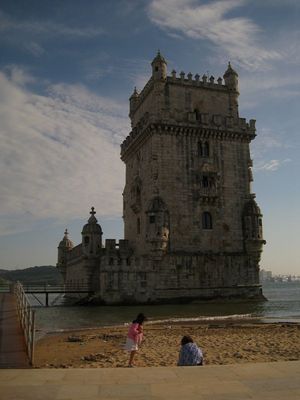
Take these 2 pictures I made in Lisbon, Portugal of a tower:
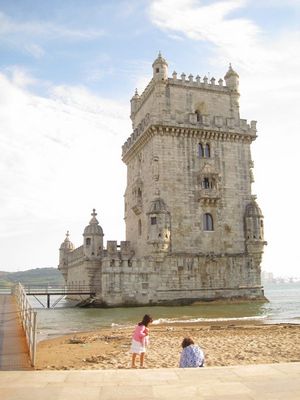
And then I combined it to turn it into this:

As you can see: the tower AND the clouds are lighted perfectly. Some people really like to push some settings, which can result in HDR pictures that look like they come straight from a "Lord of the rings" scene.
I did lie a bit, though: While you can use only 2 pictures, it's best to use a lot more. This example is the result of 12 pictures. When you take the pictures you start with a very dark one and take one lighter every time.
Should there be some kind of moving object in the pictures this will lead to "ghosting", like the children in this example. Some software allow you to ignore certain bits of picture information, but it can be a tedious work and it doesn't look bad, really.
Inspired by Michael Garmahis' tutorial.
Comments